内核准备
内核配置
建议从源代码重新编译内核,这样可以更方便地进行源代码级调试;当然自己从发行版官网下载相应内核的调试符号亦可以,通常情况下只用于应急分析,比如crash dump分析等。
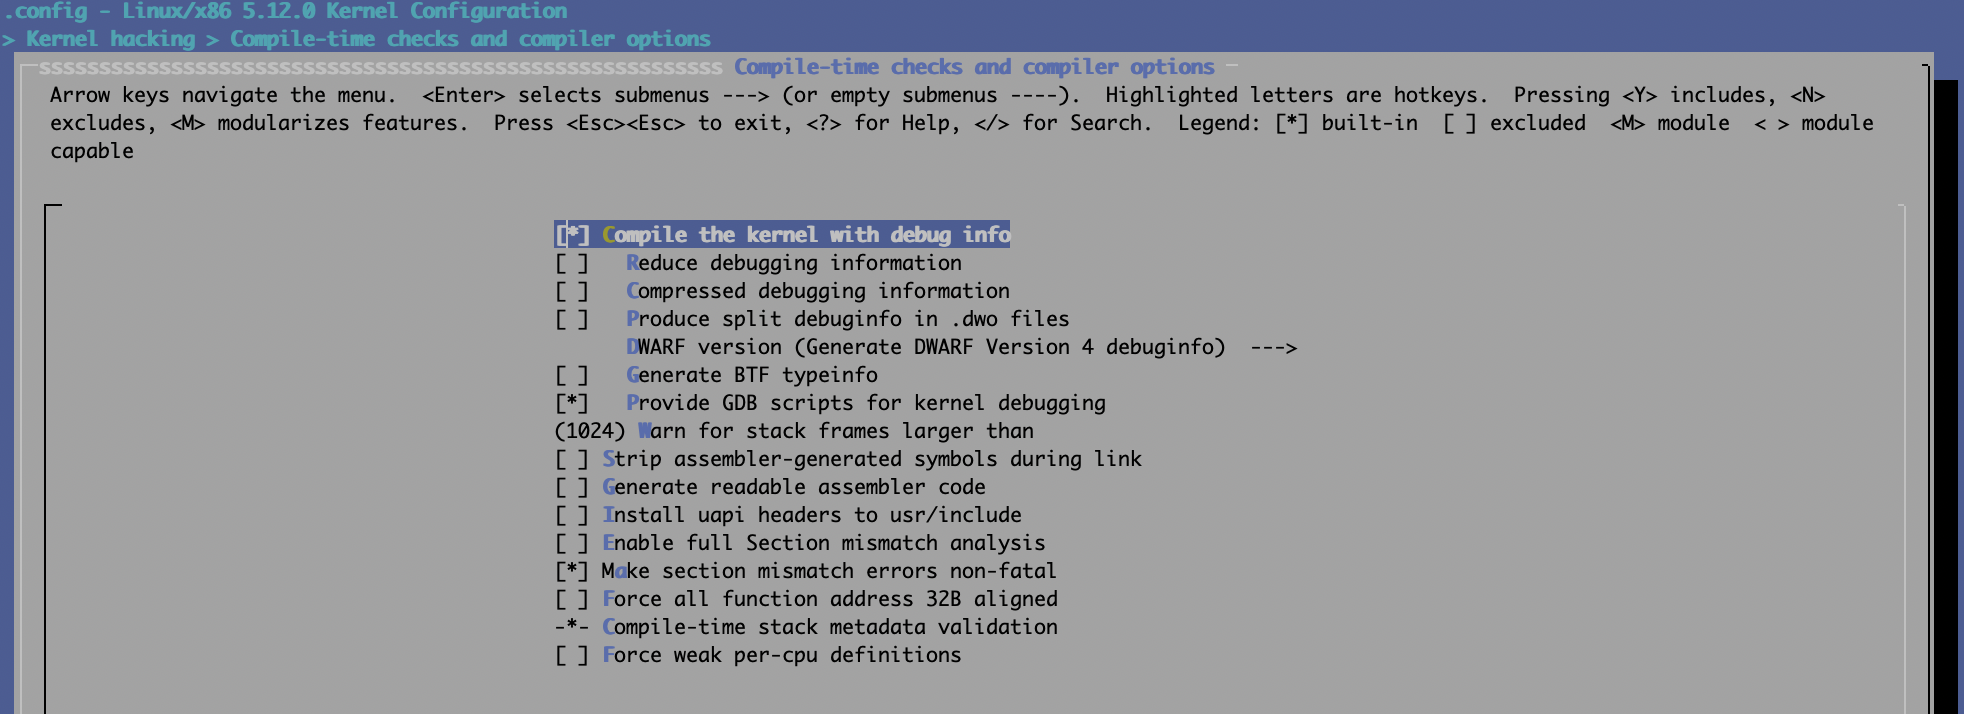
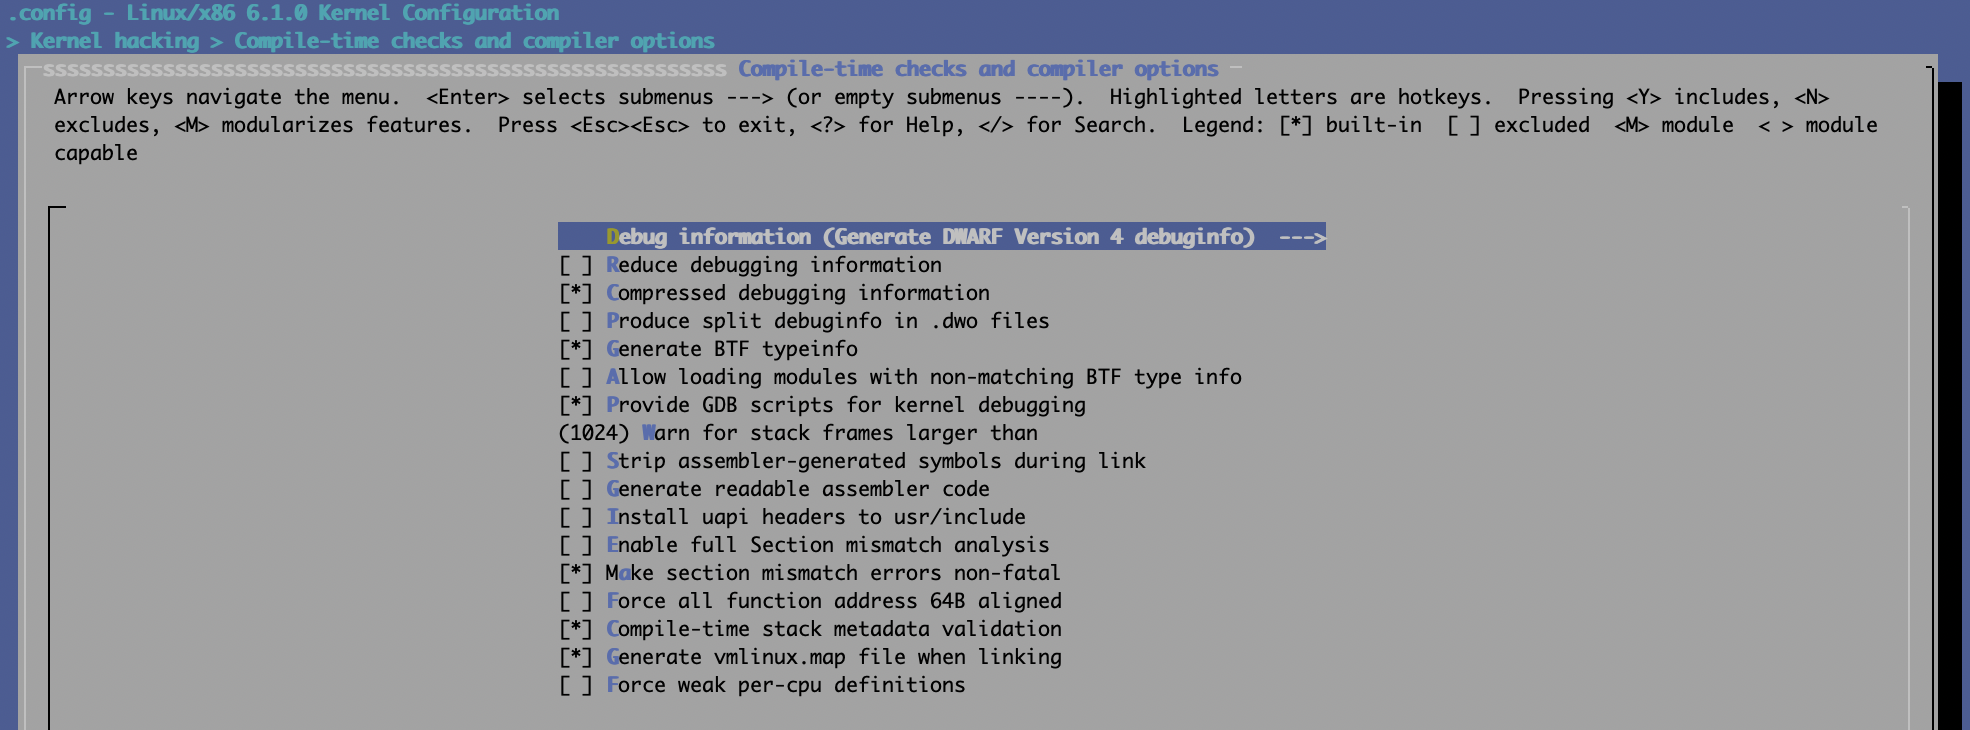
自己编译Linux内核的话,最好打开两个选项:
CONFIG_DEBUG_INFO=y
CONFIG_GDB_SCRIPTS=y
可通过make menuconfig来设置内核配置项,分别以5.12及6.1.0为例:
5.12:
 6.1.0:
禁止编译优化
无法针对Linux内核禁止全局优化,但可以针对特定的源代码文件做禁止编译优化的处理,可通过以下方式达成:
在需要被调试的源代码文件头部增加下面一行代码:
#pragma GCC optimize ("O0")
或者修改其对应的Makefile,以文件名core.c为例:
CFLAGS_REMOVE_core.o := -O2
CFLAGS_core.o := -O0
镜像准备
建议通过libvirt来管理本地KVM虚拟机,这样使用起来非常方便,如果条件不允许的话亦可用qemu命令行方式来运行。
添加 gdb stub
下面的示例是以命令行方式来运行调试目标:
qemu-system-x86_64 -m 4096 -nographic -net user,hostfwd=tcp::44334-:22 -net nic -hda \
    debian-10.7.qcow2 -machine type=pc,accel=kvm -cpu host -smp 4 -gdb tcp:127.0.0.1:44333
“-gdb tcp:127.0.0.1:44333” 就是gdb stub的命令行参数,即gdb可连接localhost:44333来调试目标系统。
如果使用libvirt的话则需要修改QEMU配置,可通过命令virsh edit来进行修改,需要在末尾加上中间4行:
   </devices>

   <qemu:commandline>
    <qemu:arg value='-gdb'/>
    <qemu:arg value='tcp:localhost:44333'/>
  </qemu:commandline>

</domain>
另外还需要更改虚拟机配置文件的domain type,即将第一行从
<domain type='kvm'>
改为:
<domain type='kvm' xmlns:qemu='http://libvirt.org/schemas/domain/qemu/1.0'>
修改内核启动项
本步骤主要为了禁止内核地址随机化,不然内核符号无法定位并正确绑定。可通过修改grub项完成,在安装新内核过程中会自加增加nokaslr及nopti,当然在编译内核时亦可直接禁止相应功能亦可。
root@T490:~# cat /etc/default/grub | grep nokaslr
GRUB_CMDLINE_LINUX_DEFAULT="noquiet nopti nokaslr console=ttyS0"
最直接的方式就是直接修改/boot/grub/grub.cfg文件,或者在系统启动时手工编译grub启动项亦可:
root@T490:~# cat /boot/grub/grub.cfg | grep nokaslr
    linux   /boot/vmlinuz-5.10.14 root=UUID=c4072cd3-9ed9-4376-b85c-95d1306e817b ro  noquiet nopti nokaslr console=ttyS0,115200
host端准备
前面我们就完成了guest端即调试目标机的配置,然后就是准备host端,可以用gdb,亦可以用vscode等gui工具,甚至可以用Windows Visual Studio配合VisualKernel工具来调试Linux系统。
源代码及调试符号vmlinux
将相应源代码及调试符号vmlinux复制到host端即可,复制时注意软链接问题,比如:
vmlinux-gdb.py -> /BUILD/linux-5.12/scripts/gdb/vmlinux-gdb.py
设置gdb的auto-load路径
建议直接修改 ~/.gdbinit文件,当然手动执行亦可,当处理多个调试机时最好通过.gdbinit来保存配置:
matt@T490 /W/K/debian-10.7> cat ~/.gdbinit
add-auto-load-safe-path /usr/share/gdb/python/gdb/
add-auto-load-safe-path /usr/share/gdb/python/
add-auto-load-safe-path /usr/share/gdb/
add-auto-load-safe-path /BUILD/linux-5.12
set auto-load python-scripts on
source /BUILD/pwndbg/gdbinit.py
我本地的调试环境里安装的是pwndbg,已配置好了python组件
启动gdb
cd /BUILD/linux-5.12; gdb ./vmlinux
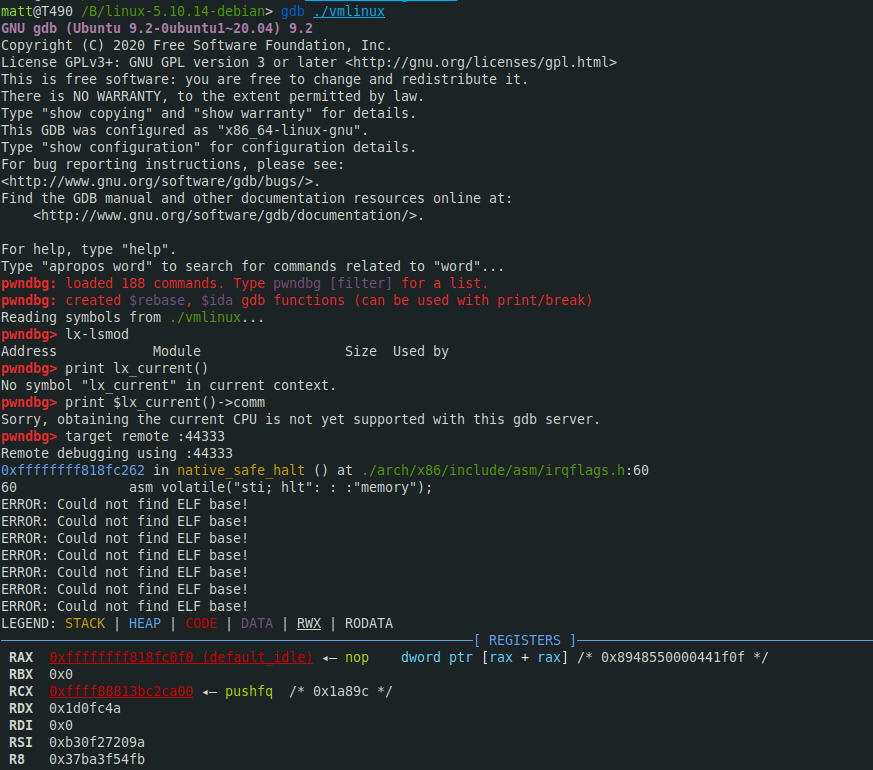
在gdb中执行以下执行开启内核调试:
target remote :44333
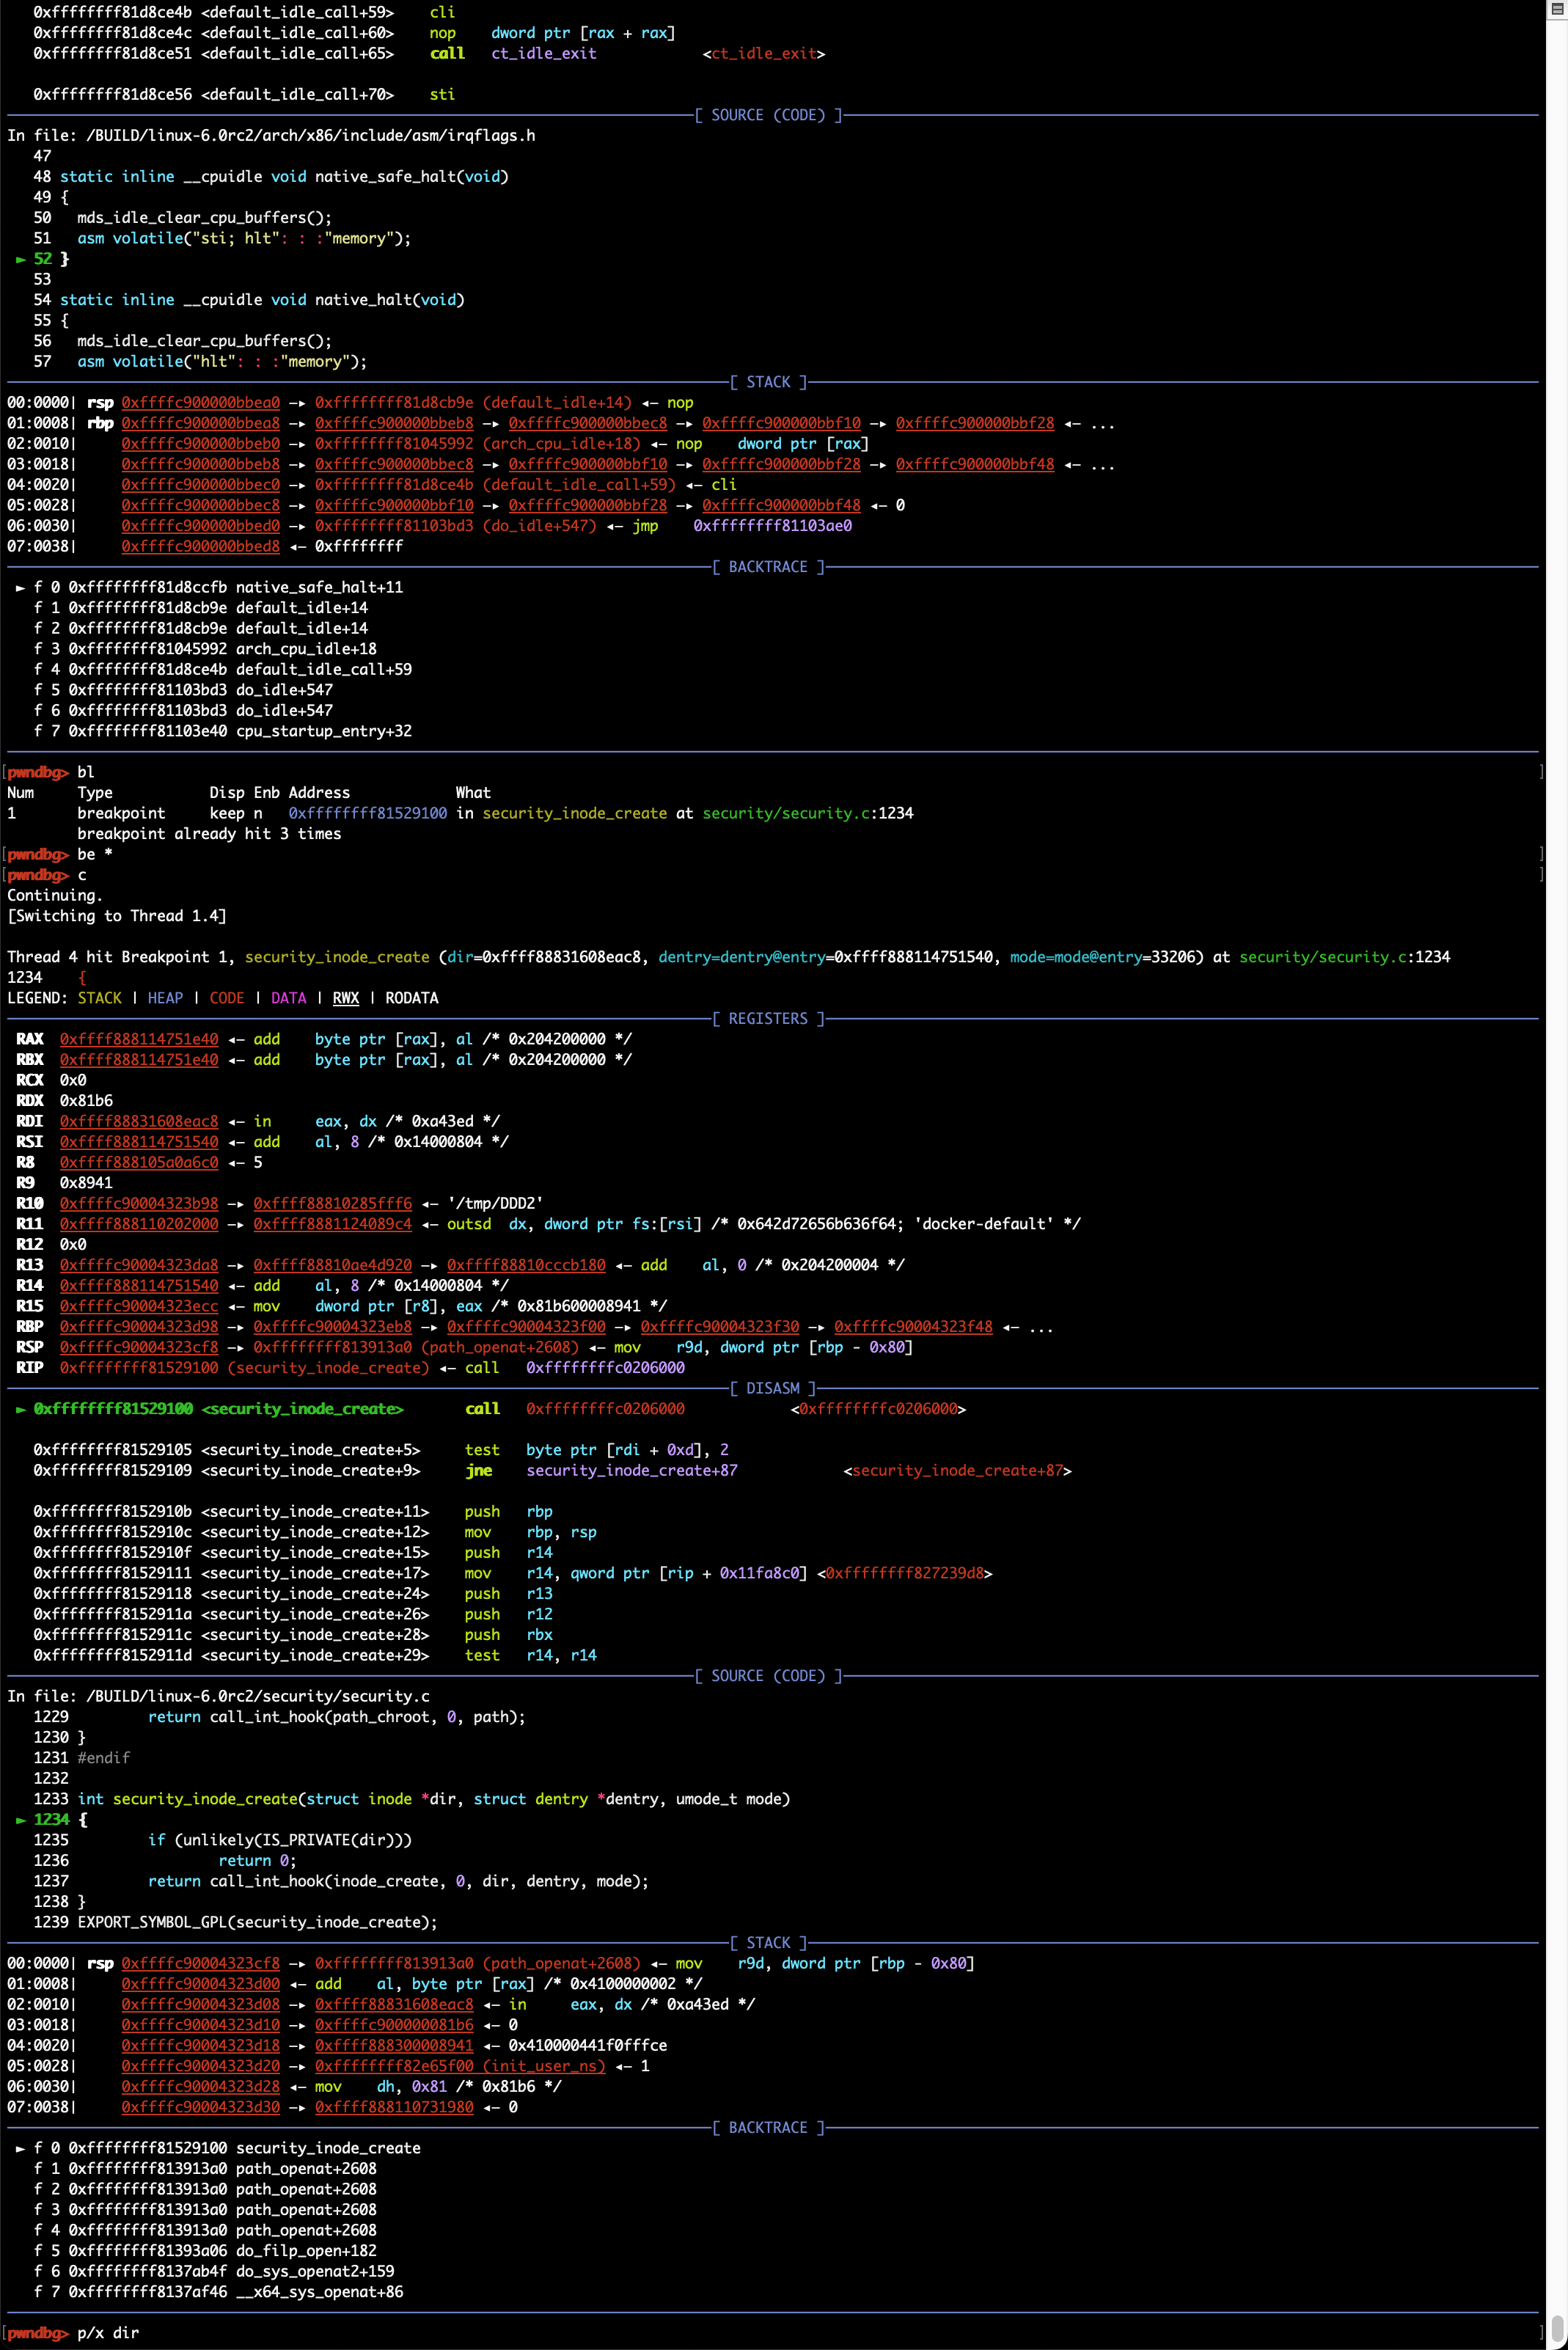
然后gdb会自动加载pwndbg并中断目标机:
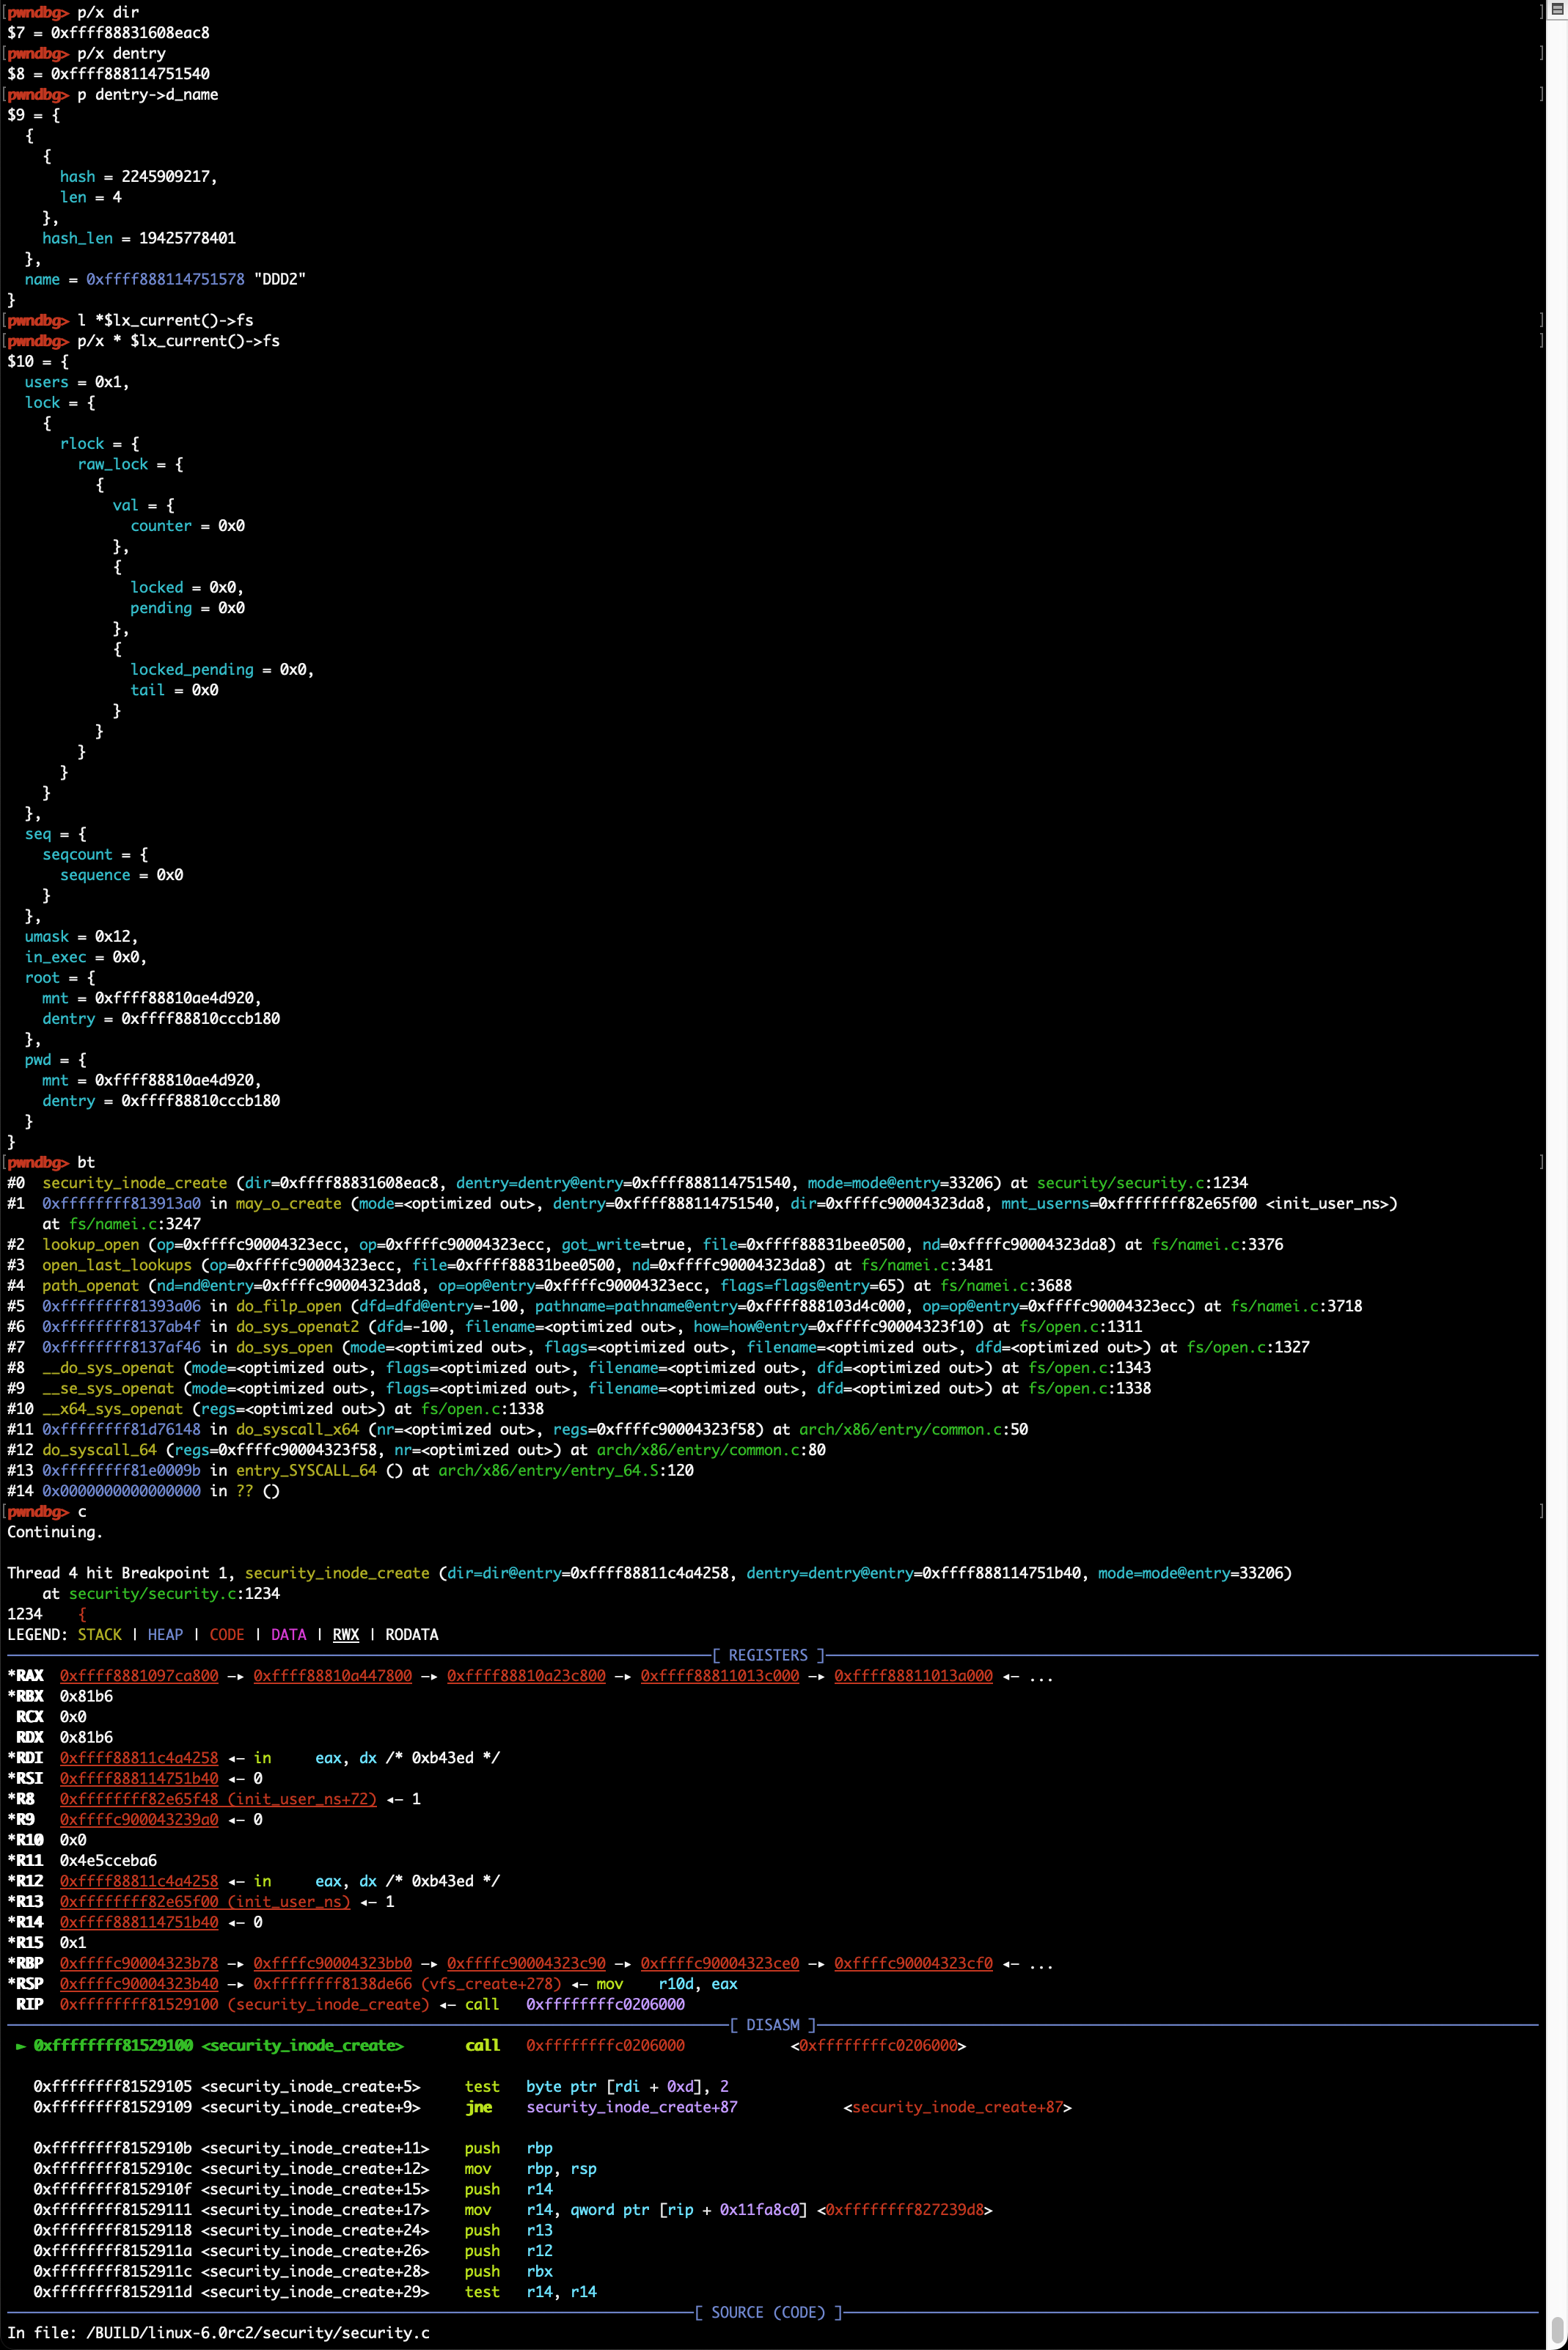
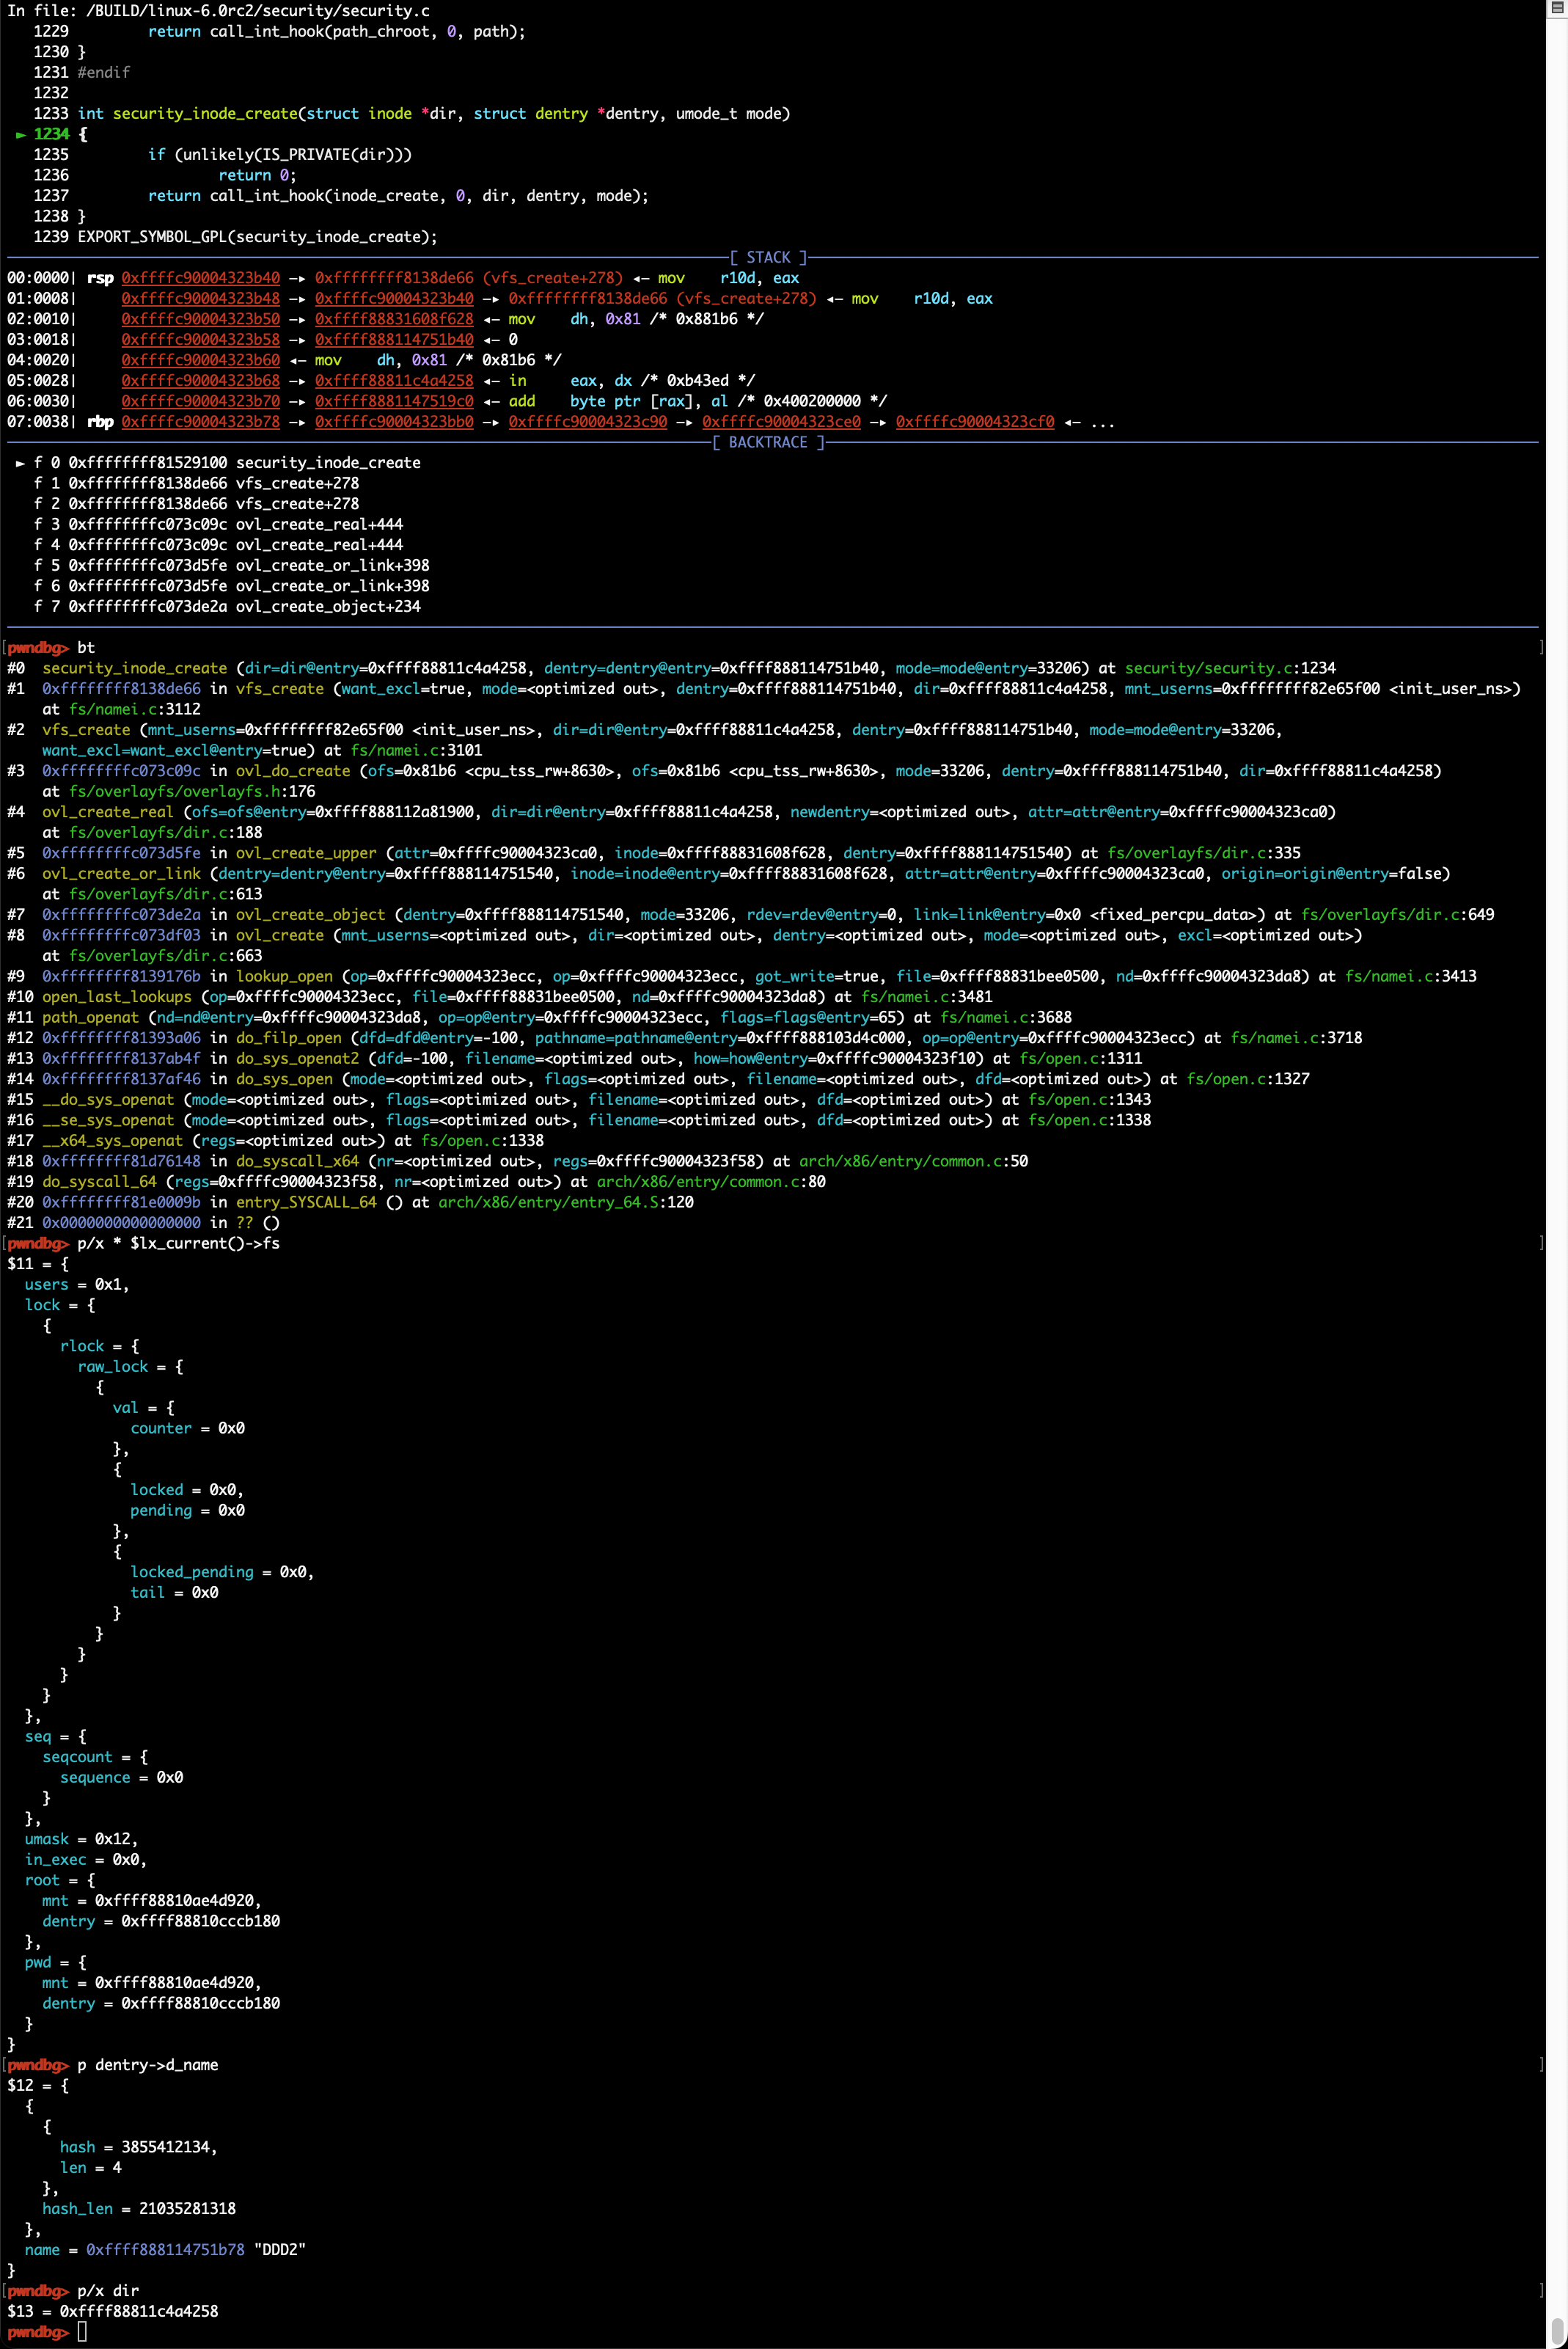
在内核gdb scripts加载成功的情况下可以执行lx系列扩展命令以获取内核信息:
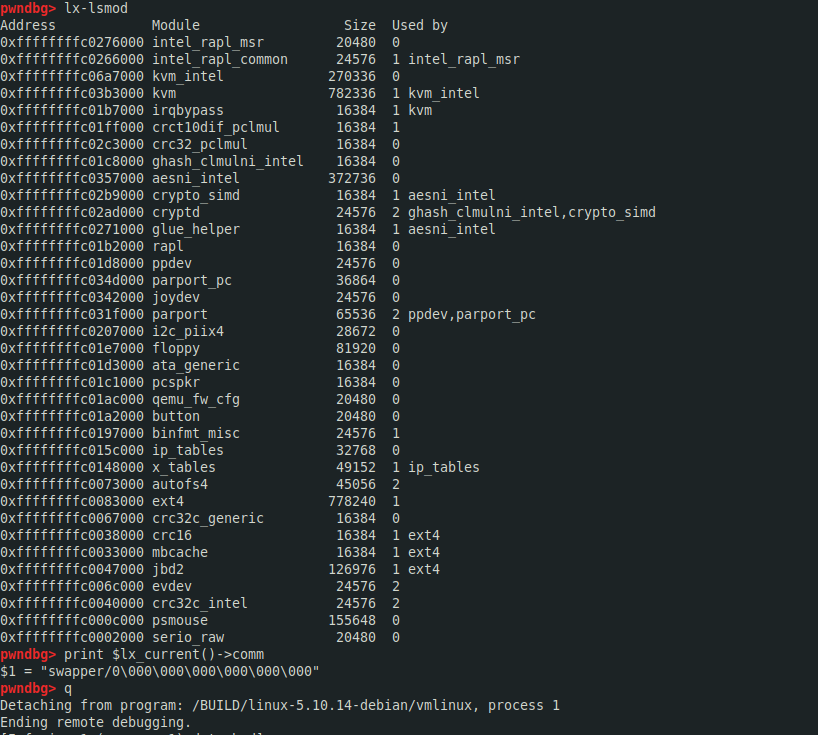
可通过apropos lx查询相应的gdb scripts扩展命令,如lx-lsmod, 变量:$lx_current():
gdb> apropos lx
function lx_clk_core_lookup -- Find struct clk_core by name
function lx_current -- Return current task.
function lx_device_find_by_bus_name -- Find struct device by bus and name (both strings)
function lx_device_find_by_class_name -- Find struct device by class and name (both strings)
function lx_module -- Find module by name and return the module variable.
function lx_per_cpu -- Return per-cpu variable.
function lx_rb_first -- Lookup and return a node from an RBTree
function lx_rb_last -- Lookup and return a node from an RBTree.
function lx_rb_next -- Lookup and return a node from an RBTree.
function lx_rb_prev -- Lookup and return a node from an RBTree.
function lx_task_by_pid -- Find Linux task by PID and return the task_struct variable.
function lx_thread_info -- Calculate Linux thread_info from task variable.
function lx_thread_info_by_pid -- Calculate Linux thread_info from task variable found by pid
lx-clk-summary -- Print clk tree summary
lx-cmdline --  Report the Linux Commandline used in the current kernel.
lx-configdump -- Output kernel config to the filename specified as the command
lx-cpus -- List CPU status arrays
lx-device-list-bus -- Print devices on a bus (or all buses if not specified)
lx-device-list-class -- Print devices in a class (or all classes if not specified)
lx-device-list-tree -- Print a device and its children recursively
lx-dmesg -- Print Linux kernel log buffer.
lx-fdtdump -- Output Flattened Device Tree header and dump FDT blob to the filename
lx-genpd-summary -- Print genpd summary
lx-iomem -- Identify the IO memory resource locations defined by the kernel
lx-ioports -- Identify the IO port resource locations defined by the kernel
lx-list-check -- Verify a list consistency
lx-lsmod -- List currently loaded modules.
lx-mounts -- Report the VFS mounts of the current process namespace.
lx-ps -- Dump Linux tasks.
lx-symbols -- (Re-)load symbols of Linux kernel and currently loaded modules.
lx-timerlist -- Print /proc/timer_list
lx-version --  Report the Linux Version of the current kernel.
gdb常用命令及调试技巧
常用命令
常用gdb指令:bt, disass, step, next, break/delete, print, x/[i/g/d]等,具体可查询gdb命令手册
断点设置
使用break命令可设置断点,支持以下几种命令格式:
- break 函数名: break dump_stack
- break source_file:line_number: break smith_hook.c:70
- break 逻辑地址:break 0xffffffff81003010,可以强制break跳过符号/函数名识别
针对模块的调试,可以考虑在模块中增加不常用内核函数的调用,如dump_stack;模块加载前是无法设置断点的,但内核函数的调用是可以的,这样就可以在模块调用指定内核函数时触发断点,然后再通过add-symbol-file /path_to/ko_file base_address,base_address或通过lx-lsmod查询得到,即模块在内核中的内存位置,之后就可以访问模块内的符号了,如全局变量或内部函数
X86_64位环境调试32位虚拟机
需要在attach前设置目标及当前系统架构,如 set architecture i386:x86-64。建议安装gdb-multiarch,以免系统自带gdb不支持多种架构:
pwndbg> target remote :44323
Remote debugging using :44323
warning: Selected architecture i386 is not compatible with reported target architecture i386:x86-64
warning: Architecture rejected target-supplied description
Remote 'g' packet reply is too long (expected 312 bytes, got 608 bytes): 102b91c10......0000

pwndbg> set architecture i386:x86-64
The target architecture is set to "i386:x86-64".
pwndbg> target remote :44323
Remote debugging using :44323
0x00000000c1912b23 in default_idle () at arch/x86/kernel
 6.1.0:


